
A press review copy of the module was provided. Find more Roll20 Reviews on my website and YouTube channel.
The War for the Crown returns to an urban setting in the third Pathfinder Adventure Path module, The Twilight Child. It’s designed for a party of 7th level heroes who have completed the previous two modules, and they should reach 10th level by the end, making it a solid Tier 2 adventure.
The Twilight Child provides a bounty of interesting side quests within the mercantile city of Yanmass, and more importantly for a Roll20 module, plenty of quality maps to support them.
The following content is included in the $24.99 The Twilight Child (War for the Crown 3 of 6) module:
- 11 5-ft battle map with Dynamic Lighting (for Roll20 subscribers)
- 1 non-gridded overland map (Yanmass)
- 52 unique named NPC character sheets with matching tokens and GM descriptions (25 w/ pics & player handouts)
- 42 NPC monster sheets with draggable tokens, vision, and separate player handouts.
- 53 Magic Item player handouts (11 w/ pics)
- Alphabetized token page of all NPCs and creatures.
- Available as an add-on to your existing War for the Crown Adventure.
- Journal organized into four parts, each containing DM notes, maps and player handouts
- Detailed notes on the locations and history of the city of Yanmass
- Extra notes on death and resurrection as well as Pyschopomp creatures.
- Rollable tables for optional random encounters and rumors around Yanmass
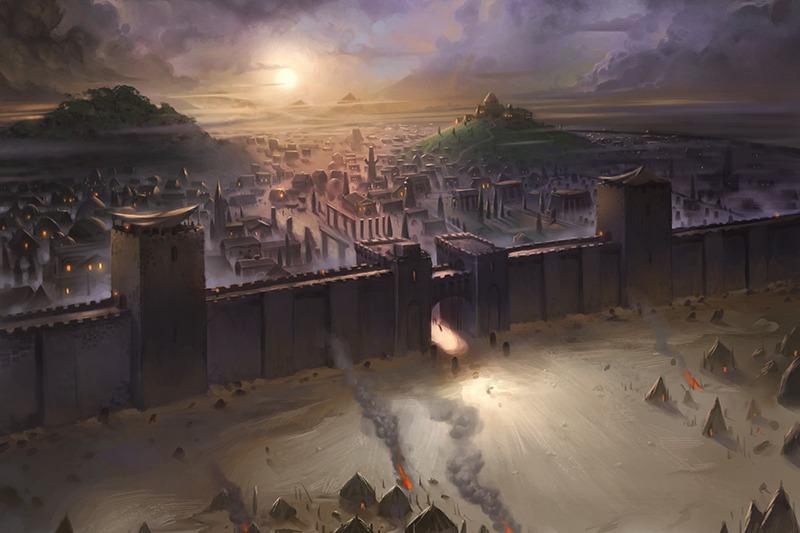
The adventure begins as our heroes are sent on their next mission to continue raising support for Princess Eutropia in her quest for succession in Taldor. It’s time to set their sights on the city of Yanmass, the trade capital of the region.
Although the adventure is divided into four parts they don’t have to be tackled in any particular order, other than beginning with Part 1. Part 1 provides the PCs with their only biggest extended social encounter of the module as they meet with the Mercantile Council leaders who run the city.
Since this is an RPG, each leader has a different problem that expands into a series of quests.
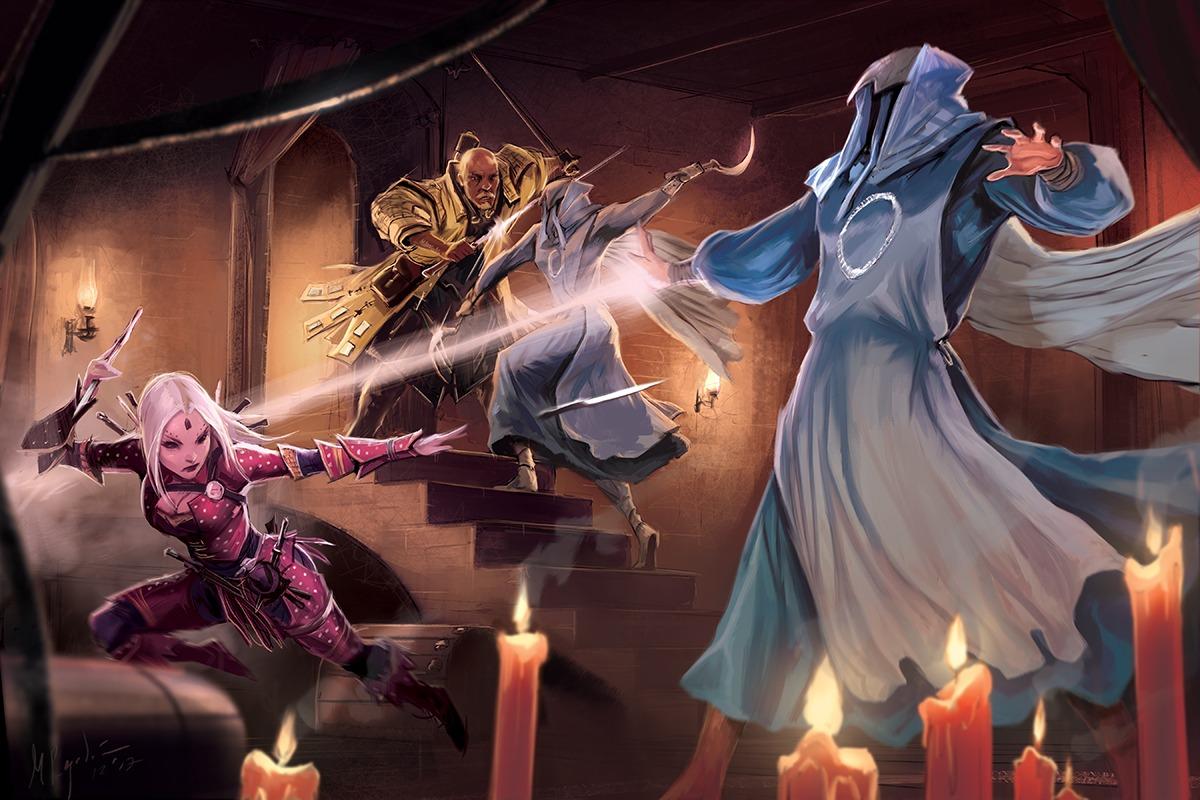
The priest is worried about a new cult that claims to have resurrected the long-dead child Prince – Princess Eutropia’s younger brother – and the PCs will have to fend off would-be assassins’ when they meet with the holy man.
One of the merchants mentions someone dangerous could be hiding out in the public park. She turns out to be the last survivor of a medusa attack, which in turn was the result of a betrayal of the local cavalry.
A local restaurant is being blamed for the new nightmares being visited upon the citizens. The scheming owner is an illusionist, but more distressing is the long-abandoned butcher house that has become occupied by nightmare-inducing demons.
Each of these little events, of which there are about half a dozen, nicely flow into one of the three main plots: the hired demons (Part 2), the turncoat cavalry (Part 3) and the sinister cult (Part 4). The PCs can tackle these threads in any order they choose, providing a nice open world experience within the confines of a limited area.

This is definitely an adventure that could make use of the quest system we’ve devised in our own Roll20 adventures. It’s basically just a subfolder of handouts with notes of each quest the PCs receive and the relevant information they’ve learned, such as people and locations. You’ll definitely want to keep things organized as there are multiple threads to keep track of in The Twilight Child.
What I really love about Part 1 is that each of these threads is given its own little battlemap in Roll20. Given that the lack of maps was my chief complaint for the last War for the Crown module, I’m ecstatic to see so many maps here. Most of them are very tiny, including only a single encounter like the assassins and the medusa, but the fact that they’re all set up and ready to go should relieve DMs of the biggest burdens of running Part 1.
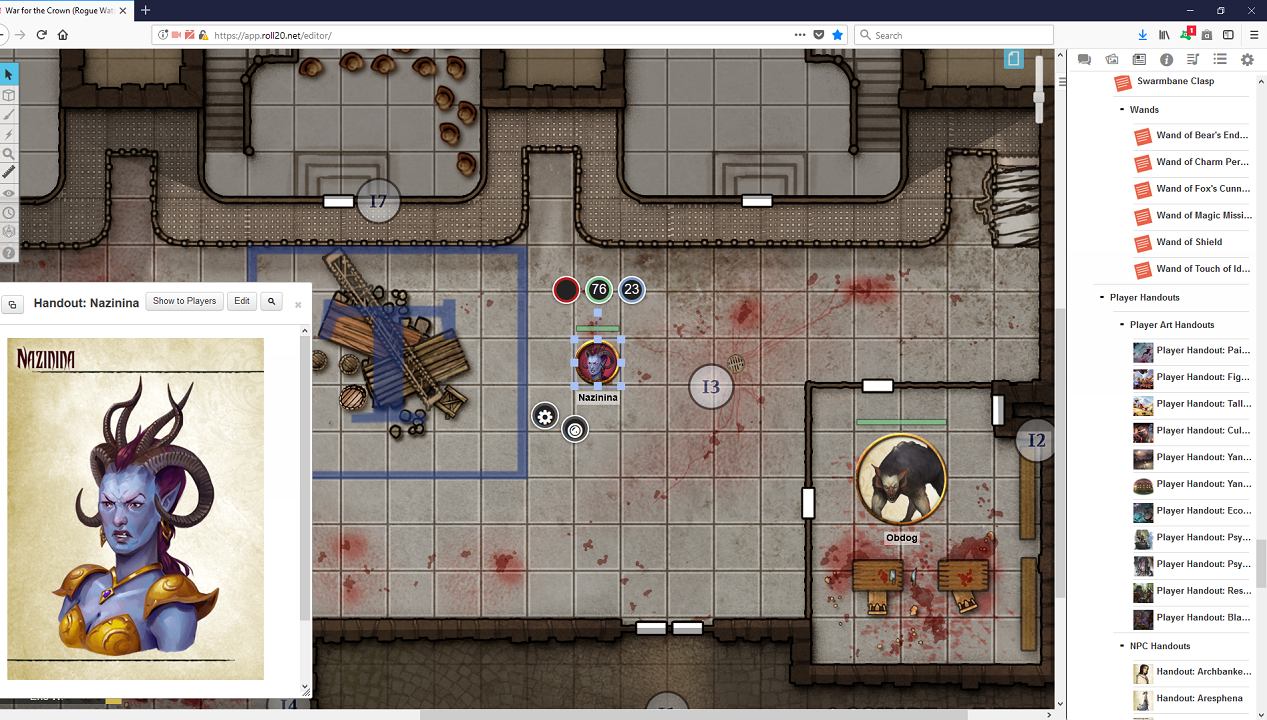
The other three parts all take place in their own areas, each providing their own mini-dungeons. Part 2’s Sanguine Brothers features the gory slaughterhouse, which has since been taken over by sadomasochist demons called pairakas, which I keep trying to pronounce as “paprikas.”
The slaughterhouse has a really fun horror vibe and the map looks wonderful, with blood stains all over the floors and nasty creatures like grub swarms and a demonic giant dog-thing prowling around.
It’s all very bloody and body-horror themed. There are some notes about taking precautions when inflicting the pairaka’s nightmares on the PCs themselves, as they involve an unsettling combination of eroticism and violent cannibalism. I’m not here to tell you how to run your campaign, but I would encourage every DM to make sure their players are okay with the subject matter, especially if you want to directly involve a PC.
Part 3 involves the PCs assaulting a fortress of well-trained guards, who have recently been paid off by our villainous noble. It’s a fairly straight-forward mini-dungeon stuffed with human NPCs and a big-ass elephant out in front. I particularly like that one of the named NPCs is the brother of the turncoat leader, and if you kill him his off-site wife swears revenge, hunting down the PCs on her winged drake for a later ambush. Nice!
I mentioned that the PCs can tackle the events in any order, but the mysterious cult should be their final stop. It’s suggested the PCs reach level 9 while exploring the Encircling Bower. In that case I would doubly recommend my custom-built quest system, and simply tell the players they need two pieces of damning evidence to confront the evil Earl Yander Merkondus first (both pieces can be found at the conclusion of parts 2 and 3), and then stage the cult’s activities at the end for the best adventure flow.
It’s entirely possible that the Earl successfully flees to pop up later in the campaign, though should the PCs encounter him, yet another solid mini battlemap is provided.
The Encircling Bower in Part 4 reminded me of the theater sequence in Interview with a Vampire, with an ominous stage performance followed by our heroes investigating the sinister goings-on underneath.
This is an interesting, multi-leveled map, with the added bonus of a large number of generic townsfolk tokens to simulate the crowd in the theater. Very nice!
There’s a neat twist here – the child really is the slain prince returned, but he’s been enthralled by the cult leader via drugs and magic. The entire event turns into a rescue mission as our PCs should hopefully decide to recover and extract the prince from the cult’s clutches and reunite him with his sister.
While I love the individual plot threads and locations featured in The Twilight Child, the non-linear story-telling could prove challenging. As I mentioned before, DMs might want to artificially gate the cult content since it’s a bit higher level, but that could also mean that they’ve already dealt with the main villain and seemingly won over the population and still have a fourth of the module remaining.
Clever DMs will find nice ways of weaving these threads together into a meaningful story. Thankfully all the tools are included in the adventure, leaving you with more time writing good content instead of building maps and placing tokens.

The Pros:
- Lots of quality, diverse maps for all the various important locations and events in Yanmass.
- The slaughterhouse map is particularly fantastic in its decrepit, blood-stained design.
- The adventure has a familiar structure to video game RPGs, wherein the PCs gather a bunch of quests at one time, then go around and check them off one-by-one, giving DMs a solid framework to work with.
- Provides a good balance of giving the PCs options on where to go and what to do, while keeping them within and around a single major location.
The Cons:
- Lacks a big, meaty dungeon crawl.
- Non-linear story could make for an anticlimactic end, leading to a surprise boss fight that feels a bit cheap.
The Verdict: With lots of high quality maps and a city brimming with mystery, danger, and blood, The TWILIGHT Child is the strongest entry in the War for the Crown yet.
A press review copy of the module was provided. Find more Roll20 Reviews on my website and YouTube channel.
