A review copy of “DDAL00-10 Trust and Understanding” was provided by the publisher. Find more DMs Guild Reviews on my website and YouTube channel.
Support my work by using affiliate links for shopping and pledging via Patreon.
Designed by: Alan Patrick
The Saga of the Worm series of Adventure League modules concludes with Trust and Understanding, easily one of the most poorly named adventures I’ve ever come across.
Trust and Understanding doesn’t conclude the series so much as provide yet another standard AL-friendly dungeon crawl with Kyuss-themed enemies, this time at a solid Tier 4 challenge level. The few interesting ideas end up poorly executed or underdeveloped.
As an AL adventure Trust and Understanding features very little art, a brisk run-time, and a clear three act structure, though it appears a little too long for a standard one-shot with a suggested time allotment of 6-8 hours.
It’s one of the few Tier 4 adventures I’ve seen on the DMs Guild, though narratively and mechanically it doesn’t separate itself enough from the previous Saga of the Worm adventure – crawling through a dungeon filled with Wraiths and Kyuss spawn and then punching a big bad Kyuss-themed enemy in the mouth.
Not even the god himself is the end boss, just a beefy humanoid with an admittedly cool backstory as a former player character who sold his soul to Kyuss to save his allies. I’m a big fan of the fallen hero trope (StarCraft and Warcraft 3 anyone?) and was looking forward to how it was used here with the drow pirate Dae’Lomdel.
There’s an attempt at creating emotional stakes with an optional dreamscape area and a mid-dungeon cutscene, but I was left disappointed. It’s tricky to create meaningful connections during a series of AL one-off adventures, and doubly so in the context of an under five hour adventure. It would’ve been more effective had this character actually been present in the previous Saga of the Worm series. Or if we had any recurring NPCs to tie them together, besides generic Kyuss enemies.
The meat of the adventure takes place in an abandoned dwarf mine, a tad mundane for near god-like 18th level heroes, though I was impressed with the huge amount of detail for the Act 1 town of Almorel, which is given no fewer than six pages of annotated detail – despite only requiring a single quest-giving NPC to run the adventure. I also enjoyed seeing adventure hooks for every single published D&D 5e campaign book up through Ghosts of Saltmarsh.
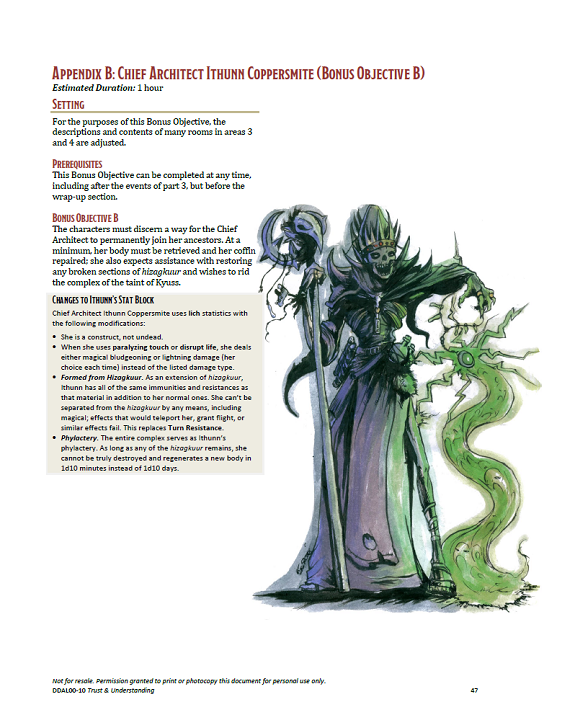
The most interesting aspect of the dwarf mine lies in the appendix, which features an optional side quest involving a sort-of lich construct and caretaker of the dungeon, the Great Architect. She enlists the heroes to perform clean-up duties around the dungeon, which boils down to a bunch of fights. But it adds some much-needed depth and charm, and some fun role-playing opportunities.
Near the end the PCs are presented with a series of one-word choices, which determines the magical Kyuss vision they’re transported to. I love the concept but the one-word clue is nonsense (Dissension, Doldrom, Doom, etc), giving the party no real idea or strategy for what they’re choosing. Worse, each choice boils down to a cutscene followed by a very similar battle involving some combination of Kyuss minions. It’s the kind of non-choice we complain about with video games, and it’s a bummer to see it done in D&D.
Likewise the final battle doesn’t feel suitably climactic or interesting considering the level of the players and all the Kyuss crap they’ve dealt with up to this point. They fight Dae’Lomdel the harbinger and maybe yet another avatar of Kyuss, and that’s about it. Report back to your quest-giver, get your reward, maybe have to deal with Kyuss and another Writhing Battery again some day. A disappointing ending for a lackluster series.
Pros:
- Official Adventurers League module.
- Adventure hooks from each published D&D 5E campaign book (released as through 2019).
- Fun side quest helping the lich construct Chief Architect repair the dungeon.
- Helpful DM notes and appendices for running the adventure and detailing the town of Almorel.
Cons:
- Inconsistent map art styles.
- Very little art.
- The multiple choice near the end is near-meaningless, with all leading to similar combat situations.
The Verdict: The brief, by-the-numbers tier 4 dungeon crawl of Trust and Understanding fails to give a satisfying conclusion to the third Saga of the Worm adventure.
A review copy of “DDAL00-10 Trust and Understanding” was provided by the publisher. Find more DMs Guild Reviews on my website and YouTube channel.
Support my work by using affiliate links for shopping and pledging via Patreon.
