This review has been sponsored by the publisher. Find more reviews on my website and YouTube channel.
Support my work by using affiliate links for shopping and pledging via Patreon.
Designed by: Daniel Kahn
In each of the divided realms of Prismeer, the Feywild domain that’s featured in The Wild Beyond the Witchlight, there lies an awesome mega-dungeon ruled by a hag. Unfortunately the rest of the notable locations that reside in each realm aren’t given the same love and attention. The Hither Adventure Bundle rectifies this, at least for the domain of Hither, expanding on two of the locations and adding an all-new third one to the swampy fey realm.
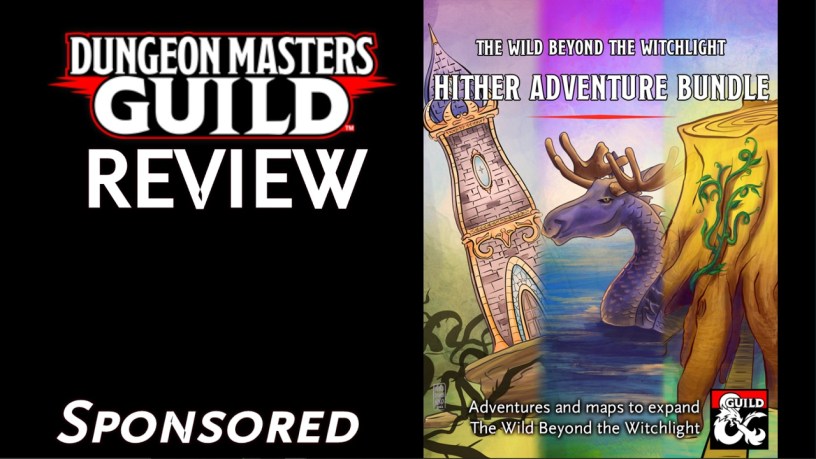
The bundle includes three adventures which can be purchased separately, but most likely you’ll want all three if you’re running The Wild Beyond the Witchlight: Inside Slanty Tower, Within Brigands’ Tollway, and The Watcher’s Pool. If you’re not running the fey campaign, these remain solidly-constructed lairs and mini-dungeons, but there are lots of satisfying tie-ins and callbacks to other NPCs and locations in the book.
Inside Slanty Tower
Inside Slanty Tower redesigns one of the more disappointing locations in the campaign. The leaning tower jutting out of the swamp is more than likely the first location your players will travel to after being teleported to Prismeer from the Witchlight Carnival.
A hot air balloon (escaping from Downfall) crashes into the tower. The bullywug pilot is killed in the crash, but the heroic faerie dragon Sir Talavar is in need of rescue. In the original campaign book, the party has to sneak past (or battle) a pair of giant snakes to save him, and that’s pretty much it.
The new adventure turns the tower into an actual dungeon crawl, albeit a tiny one, and eliminates the random snakes in favor of a more meaningful NPC, a hobgoblin worker named Elmer who’s been transformed into an Ettercap by the Hither’s ruling hag, Bavlorna. His loyal dog has also been transformed into a Shadow Mastiff.
Elmer has captured Sir Talavar, (talk about the spider catching a fly in its web!) but instead of eating him, thinks he could trade him back to Bavlorna in exchange for lifting the curse. Meanwhile, the player characters should be motivated to rescue Sir Talavar by ascending the tower, dealing with traps and the Shadow Mastiff, and learning about Elmer’s plight.

The final battle could turn into a negotiation, and Elmer could even become a helpful companion NPC. It’s a wonderful use of an Ettercap as a unique mini-boss fight for what is most likely a party of level 2 PCs. The party can also earn a Decanter of Endless Water, allowing them to travel through the o’wells, Mario style, and possibly sneak into the Brigands’ newly expanded tollway lair.
Within Bandits’ Tollway
As with Slanty Tower, the original Brigands’ Tollway featured a single showdown encounter with the leader of the harengon bandits, Agdon Longscarf. Within Brigand’s Tollway reimagines the stump camp as a hollowed tree stump with several rooms.
Players will have to sneak past the guards on top to make their way inside, where they’ll find more harengon bandits, a petrified dryad (fun ‘oil can’ reference as she cries for water), and Agdon himself.
If the boastful bandit leader is overpowered, he’ll surrender and lead them to the stash of loot underneath the tree. Unbeknownst to everyone else, he’s been raising a black dragon wyrmling down there, and unbeknownst to him, she’s starting to get grand ambitions herself! What follows could be a big fight, or some tense negotiations. Either way it’s a hell of a lot more interesting than the original showdown.
The Watcher’s Pool
The Watcher’s Pool is an all-new location based on the Hither map. In the northeast section of the map there lies a lake with a tiny island with a hut, and a swimming, antlered serpent. Based on that little information, the designer has crafted an intriguing little location that’s just as interesting as the others.
The Watcher is an oracle-type character, capable of answering any three questions (“Are you REALLY The Watcher?”), and could prove a valuable source of information for the players. The poor creature is being tormented by screaming devilkin sent by Bavlorna, however. The PCs can fight them, or disrupt them using magically singing stepping stones arranged like a classic xylophone. They can also meet with an easy-going, country fisherfolk bullwug, who can clue them into the drama of the bullywugs at Downfall.
Once saved, the Watcher can answer the questions, but only speaks in cryptic rhyme. Thankfully The Watcher’s dialogue includes 20 different rhyming responses based on the most pertinent questions the players could ask, including any of the eight locations that the unicorn could be located at. It should make for a fun and worthy social encounter.
All three adventures are must-haves for running the Hither chapter of The Wild Beyond the Witchlight. One of my few complaints for that campaign was the lack of smaller dungeons or lairs in each region, and these mini-adventures provide the perfect solution, with the right mix of role-playing, exploration, and combat, and enhanced with gorgeous full color maps. Hopefully the other two realms of Thither and Yon will soon get the same excellent treatment!
Pros:
- Inside Slanty Tower and Within Brigands’ Tollway expertly expand their respective areas into more meaningful, mini-dungeons.
- The Watcher’s Pool is a fun new location, and an NPC with important story information.
- Full color gridded and grid-less maps for each lair (Cartography: Nicole Mastrodomenico).
- Encounter adjustments for slightly higher-level parties.
Cons:
- None!
The Verdict: The Hither Adventure Bundle shores up the few glaring weaknesses of The Wild Beyond the Witchlight campaign by expanding notable locations into full-featured lairs with meaningful moments and interesting NPCs.
This review has been sponsored by the publisher Find more reviews on my website and YouTube channel.
Support my work by using affiliate links for shopping and pledging via Patreon.

Cool! Looks like a good addition to Wild Beyond the Witchlight.
LikeLiked by 2 people