
Watch our sessions live on my YouTube channel every Sunday night beginning at 9pm Central. Subscribe and catch up on previous episodes!
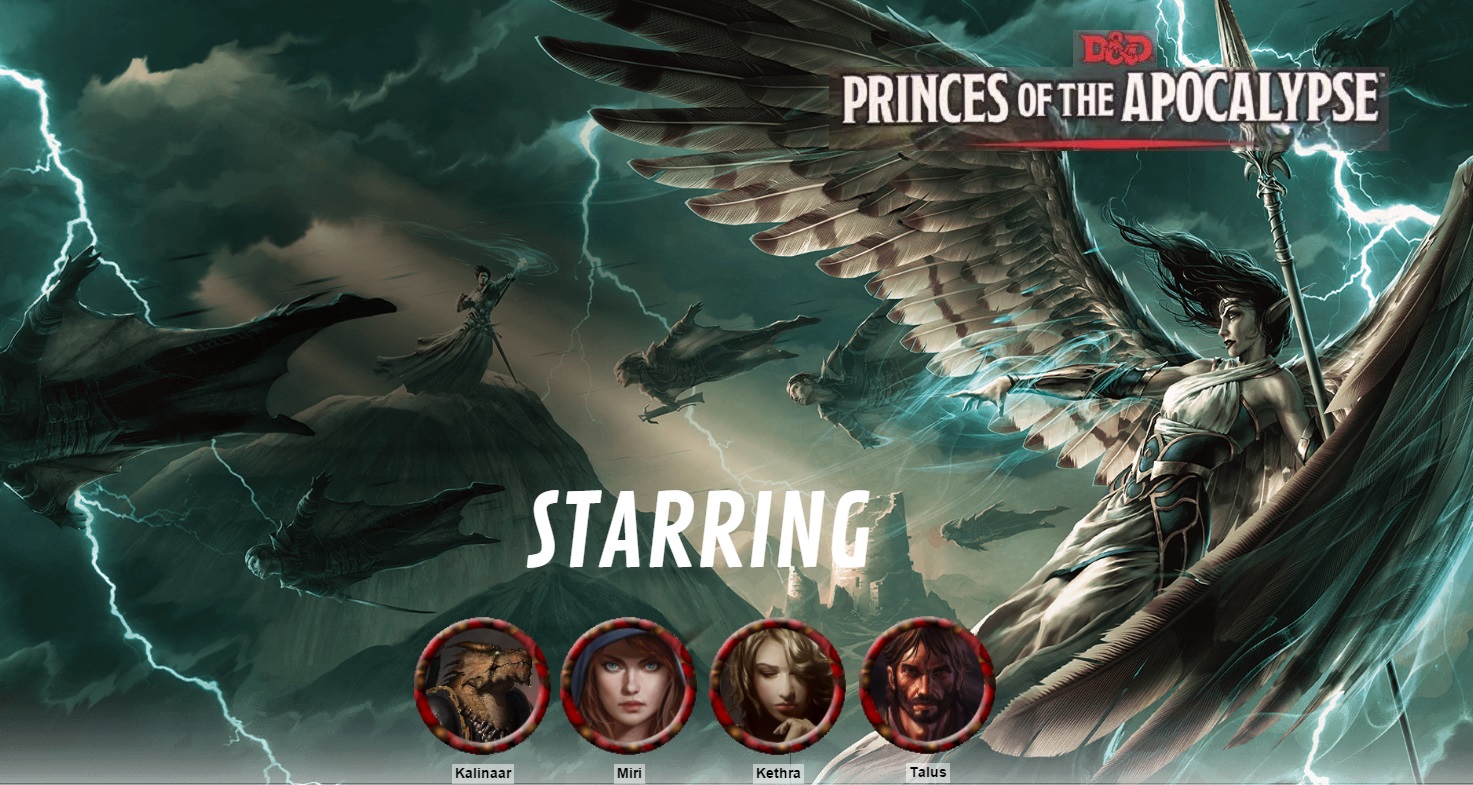
Previously on “Princes of the Apocalypse”
The town of Red Larch received a real kick in the teeth when a giant sinkhole appeared in the middle of town. The sinkhole opened a path into a hidden underground dungeon. The micro-dungeon teased some magic stones, and lead our heroes to their first real taste of Elemental Evil.
The Player Characters had nearly explored the entirety of Red Larch last week. At least the sections that were relevant to our adventure. I teased a bit more information in the form of a whistle-blowing employee at the wagon-repair shop. The PCs headed over to the tavern to seek him out.
When describing places in town, I specifically mention any important NPCs. I picture them as hotspots in an Adventure game or Exclamation Points in an RPG. My players like having the guidance and direction, and it helps cut down on time.
The local tavern – The Helm at Highsun – contained a half-orc fighter, an old shepherd, and our anxious halfling. The halfling spilled the beans on his boss Wulver, telling the party about a possible secret cellar entrance he’s seen the town elders use. The half-orc confirmed that the missing delegation had been in Beliard. I also had her aggressively come on to Talus, to the humorous delight of everyone.
The old shepherd told the party about some shallow graves he’d found while out grazing his sheep. The graves aren’t far from the tower to the East of town.
The party had all their clues and places to go, including one right here in town. They deliberated momentarily, ultimately deciding to head out and return to the cellar entrance at night. A good plan. However, the “Princes of the Apocalypse” book had a trick up its sleeve to force the players into the Tomb of Moving Stones dungeon where the PCs find it or not – the sinkhole.
I wanted the PCs to tackle this dungeon first before heading out. It’s a small, low-level dungeon with some nice little story bits and teases for the wider world and plot. The “Princes of the Apocalypse” book has a neat mechanic to force the PCs into it by opening up a sinkhole in the middle of town.
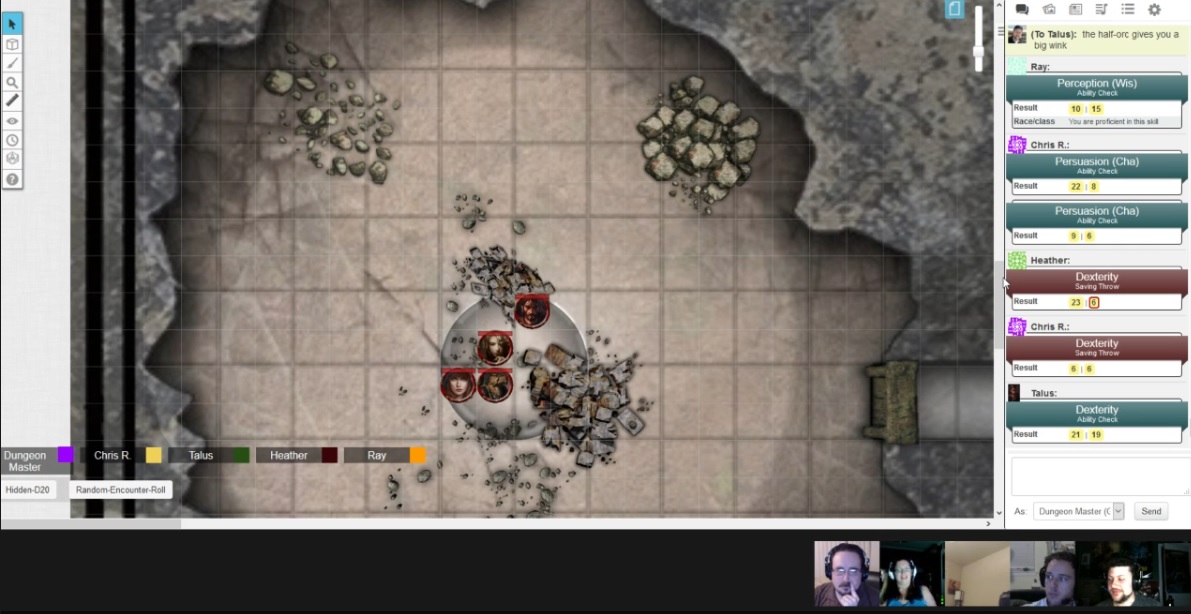
I enjoy dramatic moments and crises that don’t involve direct combat. Pits, traps, chaotic weather, etc. It’s surprising how engaging these moments can be. Our heroes sprang into action, and everyone combined their powers to help save the folks that fell in the hole, including several children. Talus levitated a flailing Kalinaar, Miri slow-fall’d down, and Kethra grabbed a rope.
The sinkhole isn’t actually deadly, despite dropping down to a 30 foot cavern. The soft earth breaks up anyone’s fall, and it’s a natural slope, not a sheer cliff. The whole town quickly gathered around. Most helped the PCs rescue their fallen neighbors. A few were anxious and shouted about disturbing “The Delvers.”
Our heroes took a pro-active approach and began exploring the cavern. Maegla promised to stall the authorities as long as she could, grateful for her rescued children. The party quickly realized one tunnel lead up to Wulver’s Wagonworks, while the East lead deep into a series of rock-hewn chambers.
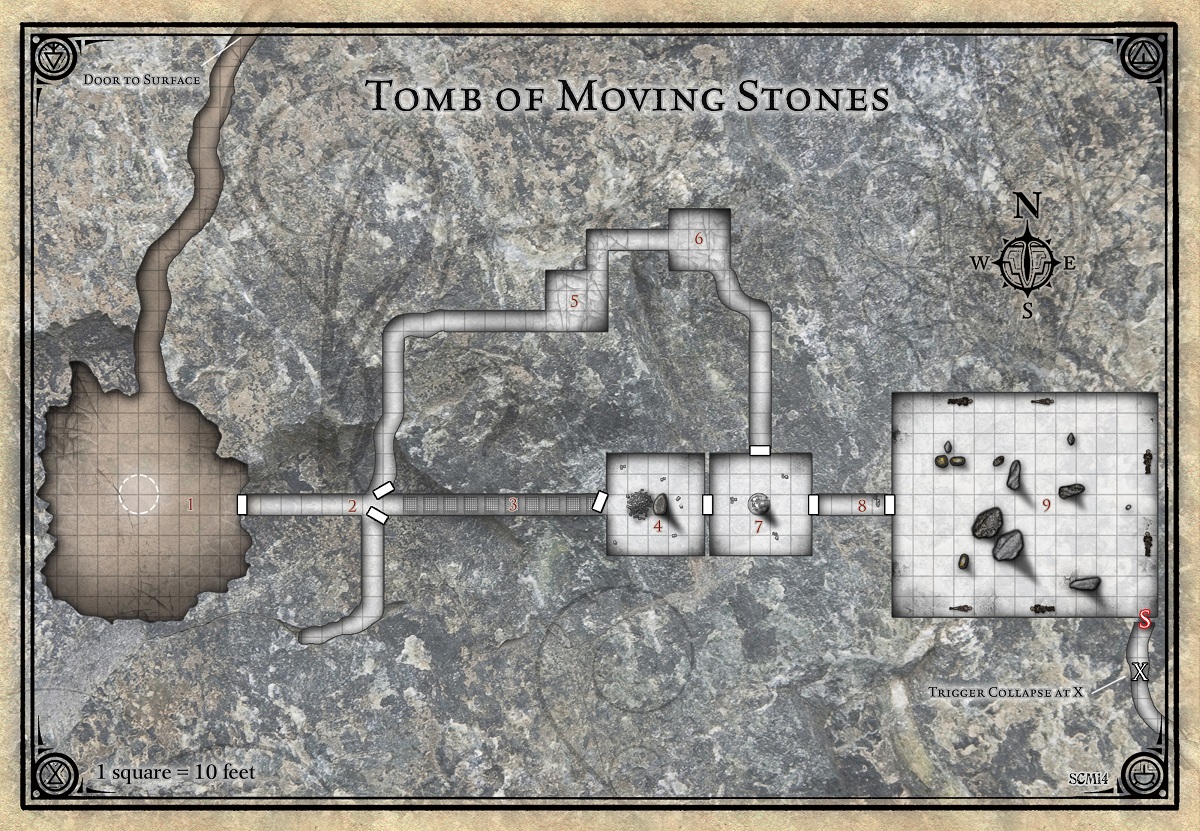
The party then proceeded to take the optimal path through the dungeon purely on accident. They completed avoided the cage trap in T3. Instead they headed North and fought the Giant Rats in T5. I slightly upped their number due to the PCs much higher level, but they’re still ultimately rats (though Miri took a ton of hits).
T6 leads to the floating stone that Talus was utterly fascinated with. Through Investigation and Detect Magic he found the enchanted pillar and performed a number of experiments while the rest of the party patiently waited. I finally had to gave a gentle ‘move along’ suggestion!
T7 is full of loot, including a fancy dagger that I thought Kethra the rogue would be interested in. Instead she was far more fascinated with the gems and coins on the floor. The party decided to head West and stumbled into the half-orc guard. To their credit they tried to talk him down but Kalinaar failed the Persuasion check. A fight broke out, and swiftly ended. A single thug is no match for a party of four level 4 adventurers.
A captive child was kept in T4, mostly as a fountain of information on the Believers – the town elders that worship the Delvers down here. Heading East the PCs ran into Baragustas, a Believer who’s basically just chilling. He’s scared of the party and makes no effort to detain them, and is basically there in case the PCs don’t find Braelen, I suspect.
Finally we make it to the final room, the chamber of floating stones. A golden mask wearing priest is down here, and he’s not too friendly. He briefly admits to manipulating the town for his own ends thanks to their superstitious beliefs. When the heroes prepare to attack, a chanting group of cloaked figures appears behind them – the Bringers of Woe, and Larrakh the priests’ loyal disciples.

It was late in our session but I really wanted to get through this whole dungeon. The final battle wasn’t all that difficult. This is a level 2 dungeon that I adjusted by having the level 4 PCs fight both the six Bringers of Woe and spell-slinging Earth Priest together. Larrakah had heard the PCs coming thanks to their conversation with Baragustas, and cast Spider Climb. This let him stay out of melee range on the ceiling.
Unfortunately for him Kethra is still quite deadly with her crossbow, as well as sneaking around behind the stones. The party also did an annoyingly good job staying quite separated in the large room, preventing Larrakh from ever getting a decent AOE blast with his powerful Shatter spell. The one tense moment came when he cast it at Level 3 directly at Talus, recognizing a powerful mage when he sees one. Talus made the saving throw and survived, barely.
Talus cast Fog Cloud on the Bringers of Woe and Kalinaar charged inside, letting him tie up most of the fodder. Miri and Kethra cleaned up the rest.
 Not wanting to die there in the chamber, Larrakh fled after a particularly brutal crossbow bolt. To my surprise most of the party Dashed right after him. Talus used one of his Divination Die, a 1, to cause Larrakh’s Earth Tremor spell to critically fail.
My plan was to use the spell to trigger the collapse of the hidden tunnel in the Southeast corner. Instead Larrakh casts it on himself, trapping himself beneath the rubble. Talus swiftly followed up with a Sleep spell, and now they have a captive!
The Bringers of Woe were easily dispatched – Kalinaar could one-hit kill them, and thanks to Cleave he could even kill two in one turn. They have the stat block of bandits and are not terribly impressive. Even so Talus nearly ate it with that spell, and Miri had to be healed after the rat fight.
Not every dungeon has to be a brutal slog. Even though the Tomb of Moving Stones is entirely optional in the grand scheme of the plot, I enjoyed its layout and structure, and how it ties into the events of Red Larch and Elemental Evil. With Larrakh as a captive, the PCs will be able to gain even more knowledge about the surrounding events. The Dessarin Valley now truly opens up, and the main campaign begins in earnest. Oh, and our PCs gained enough XP for Level 5. All this and more next week!
Watch our sessions live on my YouTube channel every Sunday night beginning at 9pm Central. Subscribe and catch up on previous episodes!
