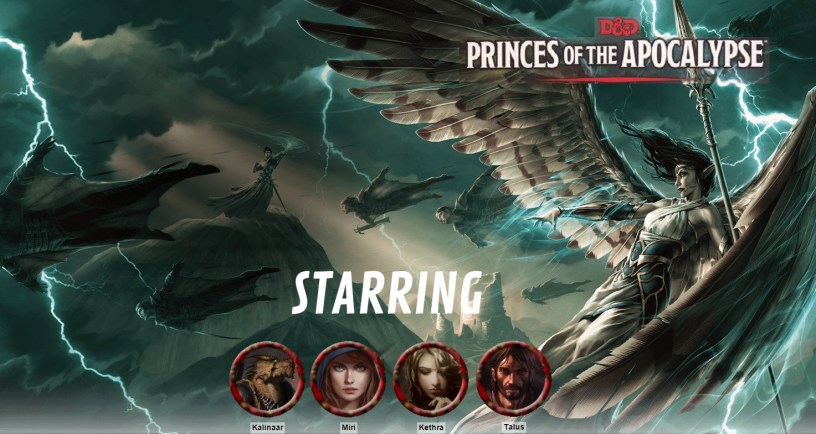
Streamed, recorded and uploaded every week. Subscribe for our weekly adventures. Join us live on Fridays at 10pm Eastern/7pm Pacific!
Previously on “Princes of the Apocalypse”
This is it, the final session report for “Princes of the Apocalypse.”
The timing actually worked out where we did the full epilogue to our campaign directly after the final battle in Session 57. This week’s session was entirely devoted to recapping our year-plus long campaign, as well as revealing all the maps to the players, analyzing the paths and choices they made, and giving our final thoughts to this official published adventure.
Instead of regurgitating the full recap in written form, I’m going to use this space to list some fun facts, outline our general plot flow, and give my thoughts on “Princes of the Apocalypse” from a DM perspective.
Here is our journey through “Princes of the Apocalypse,” organized by PC level (We carried over our PCs from “Lost Mine of Phandelver,” thus we started the adventure at level 4, almost five).
 Level 4:

- Road trip from Phandalin to Red Larch
- Learned about missing delegation, corrupt council
- Dungeon: Tomb of Moving Stones – cleared
- Captured Larrakh alive, learn location of Sacred Stone Monastery
Level 5:
- Investigated Shallow Graves
- Battle through the Sighing Valley
- Met Feathergale Knights in Spire, Manticore hunt, battle Knights
- Dungeon: Feathergale Spire – cleared

- Air Temple locked by the DM (key in Earth Monastery)
- Travel to Sacred Stone Monastery, trapped in basement, met Renwick the lich
- Dungeon: Sacred Stone Monastery – cleared
- Rescued first delegation member, Bruldenthar, learn location of Rivergard Keep
- Back to Red Larch to rest
- Traveled down to Womford, saved caravan on the way, learned location of Scarlet Moon Hall
- Battled then captured Shoalar in Womford, used his boat to travel up river to get to Rivergard Keep

- Dungeon: Rivergard Keep – clear
- Poked heads into entrance of Water Temple, fought guards then backed out, returned to Red Larch with rescued prisoners
- Note: PCs gained enough XP for level 6 at the beginning of Rivergard Keep, but didn’t have a safe place to long rest and level up until after.

Level 6:
- Fought Hell Hounds in the Red Larch Inn – “Fiery Fangs” encounter
- Met Nettlebee Halfling who gave Curse of the Fire Witch side trek

- Side Trek: Curse of the Fire Witch (included barrow mound location and some new ones like halfling farm and ranch house)
- Dungeon: Scarlet Moon Hall (camps and tower)
- Back to Red Larch for Spy’s Letter encounter in the bar
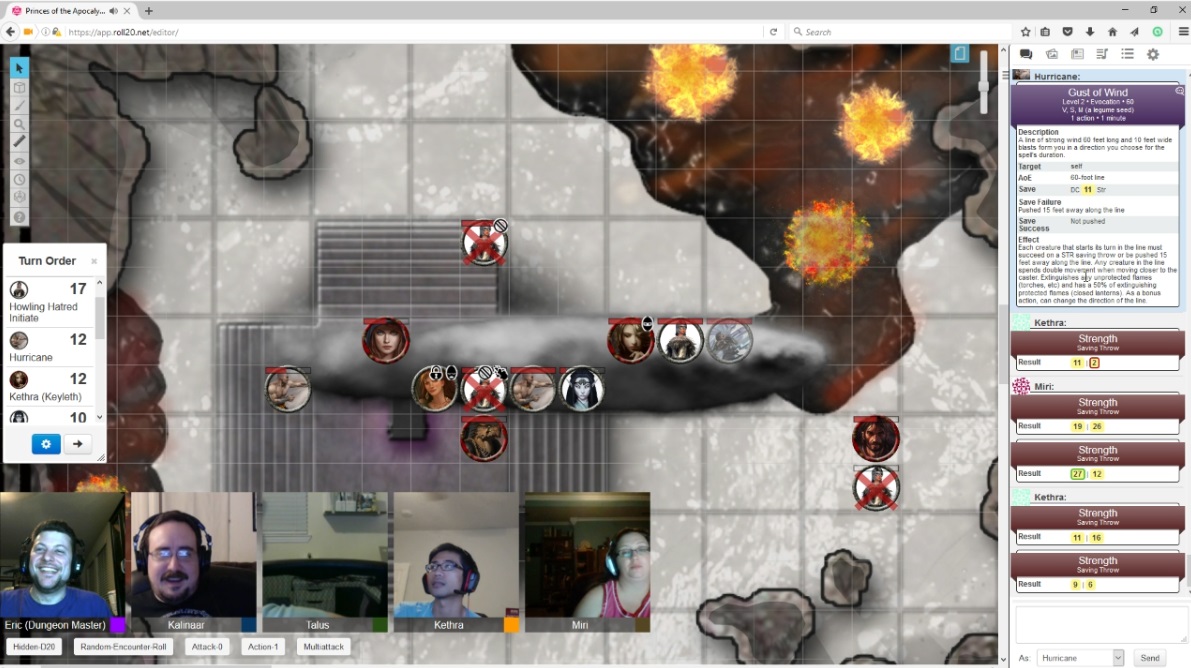
- Dungeon: Temple of Howling Hatred – completely cleared except for the pyramid in the middle, thus Prophet of Air remains alive!


Level 7:
- Instead of the pyramid, PCs used the worm tunnel to enter the Fane of the Eye, traveling West to East battling encounters
- Met the lizard folk lead by Drexa, agreed to alliance to overthrow Gar, prophet of water
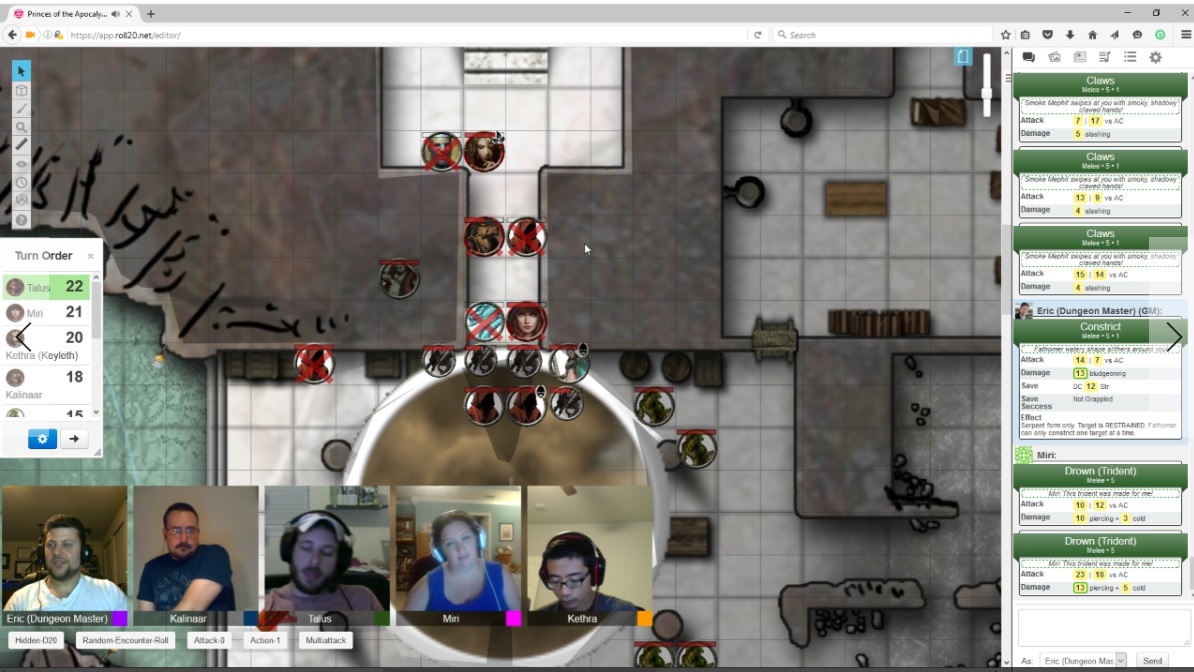
- Dungeon: Temple of the Crushing Wave, about 2/3 cleared
- Defeated first prophet – Water prophet Gar
- Battled former lizardfolk allies and fought their way out of the Temple, battling nearly everything in the dungeon in the middle area

- Back to Red Larch, get numerous side treks and Cult Retaliation quests
- Cult Retaliation: Dire Tidings (Womford)
- Wrath of the Elements: Council of Despair (Westbridge)
Level 8:

- Extra Side Trek: House of Reeds and Whispers (from Kobold Press Book of Lairs, put in Black Maw Bog)
- Extra Side Trek: Temple of Tyr (from Nerzugal’s DM Toolkit, put in Kryptgarden Forest)
- Cult Retaliation: Reckless Hate (Red Larch)
- Back to the Temple of Howling Hatred to tackle pyramid, but Prophet of Air has moved to the Fane
- PCs jump down hole in pyramid, leading to Howling Caves
- Dungeon: Howling Caves – about 1/2 cleared, rescue prisoners from Nycaloth and escape, get info on where Aerisi can be found
- Dungeon: Fane of the Eye – journey to the shrine, dungeon is now about 4/5 cleared

- Defeated Prophet of Air, rescued 2nd delegation member, fought Minotaur guards outside fire temple/node
- Return to Red Larch
Level 9:
- Cult Retaliation: Race to Destruction (Beliard)
- Wrath of the Elements: Haayon the Punisher

- Side Trek: Dark Dealings in Yartar
- Side Trek: Vale of Dancing Waters
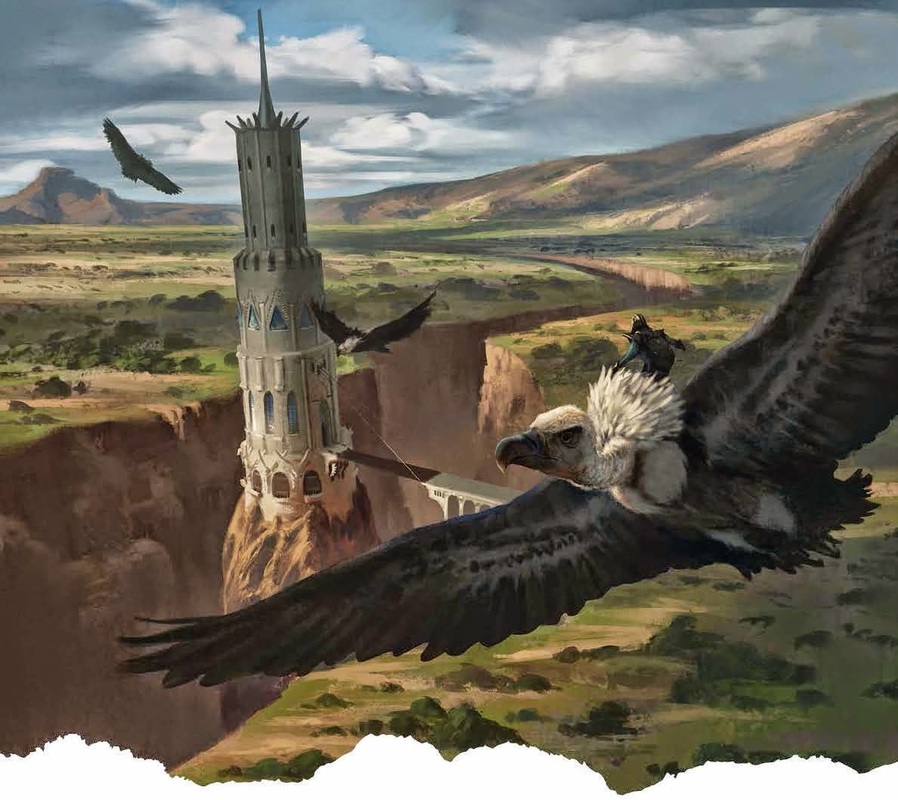
- Traveled to Summit Hall, stole body of Samular for Renwick
- Dungeon: Temple of the Black Earth – about 1/2 cleared, gave them a map to get to the Fane and describe where the elemental dungeons are located
- Dungeon: The Black Geode – about 1/2 cleared, rescued Rhundorth, the third delegation member
- Used lizard den as a safehouse to Long Rest

Level 10:
- Dungeon: The Plunging Torrents – about 1/3 cleared (East side)
- Defeated aboleth guard, sealed water node (first node)

- Back to the Black Geode, clearing another 1/4, defeating Marlos the earth prophet (3rd prophet) and sealing Earth node (second node)
- Wrath of the Elements: Tortured Earth (while the Black Geode was collapsing around them)
- Returned to the Howling Caves, now 100% cleared as they seal the air node (third node)

Level 11:
- Battled Fire Cult reinforcements in the Fane of the Eye
- Dungeon: Weeping Colossus – about 4/5 cleared (skipped lava roper), rescued Teresiel, the fourth delegation member

- Defeated fire prophet (fourth prophet), battled Imix, sealed fire node (fourth node)
- Earned enough XP for level 12 in the end
I asked each of my players to describe their favorite moments of the campaign (begins at 2:38:00 of the recap video):
 Kalinaar (Chris): Kethra poisoning the cultists (everyone agreed this was the funniest moment). Also mentioned enjoying all the action-packed boss fights.
 Talus (Reese): Kalinaar coming to terms with serving a lich, and the moral and philosophical arguments between he and Talus.
 Miri (Heather): When she got to play the bad guy [nearing the air node in the Howling Caves].
 Kethra (Raymond): Even though they saved the world, people in the world never agreed with their methods. Anti-heroes ftw!
“Princes of the Apocalypse” took us 57 sessions over the course of 13 months. Total time was 8,771 minutes, or 146.18 hours. We averaged two and a half hours per session.
Total in-game time since the adventure began was 31 days, which includes travel time and long rests.
I ran all of the Cult Reprisals, Cult Retaliations, and Wrath of the Elements.
I skipped most of the Side Treks, running only Curse of the Fire Witch, Vale of Dancing Waters, and Dark Dealings in Yartar, though I also added two more from outside sources.
The only dungeon I built that we completely skipped was the Temple of Eternal Flame. I was planning on running the Halls of the Hunting Axe but later dropped it before plugging the map into Roll20.
Custom Loot
- Hammer of Justice (Maul, attunement) – shield guardian in Tyr Temple
Maul (two-handed, 2d6), If any creature hits you with a critical hit, that creature becomes marked by Tyr, and your next attack against them with the Hammer of Justice is a guaranteed critical (keep damage roll and add crit damage). Has 1d4 charges. Can expend a charge and a bonus action to speak the command words, “Justice Will Be Served” and imbue the Hammer of Justice as per the Elemental Weapon spell, gaining +1 to attack and an extra 1d4 radiant damage. The Hammer also sheds 20-ft of light (10ft bright, 10ft dim) while the effect is active. The effect lasts for 1 hour. Regain 1d4 charges after a Long Rest. (pretty sure we completely forgot about the 2nd half of this item’s power) - Forged by Tyr (plate mail) – Ironsmith
Plate Mail (AC 18), provides +1 AC and the Unyielding trait – Can use a Reaction to avoid being knocked Prone or moved from any effect. (Does not provide immunity to grapple, but can use reaction to avoid being moved while being grappled) - Blade of Imix (short sword, attunement) – Fengell gives to Kethra
Short Sword (1d6), Use a bonus action to speak the sword’s command word, “Imix”, causing the blade to be wreathed in flames. While the sword is ablaze, it deals an extra 2d6 fire damage to any target it hits. The Flames last until you use a bonus action to speak the command word again, or until sheathing or dropping the blade. The flames shed light similar to a torch (40 ft total, 20 is dim light). - Pipe of Smoke Mephits – loot from Elizar
Works just like his ability, summon 4 smoke mephits 1/day.
Quests and XP
In addition to monster XP, I awarded bonus XP for completing quests and milestones, based on PC level using the XP Threshold chart in the DMG (or Kobold Fight Club).
- I awarded Half-Easy XP for rescuing any non-quest related civilians
- I awarded Easy XP for completing a side quest (including rescuing a quest-related missing person)
- I awarded Medium XP for rescuing each of the four missing delegation members
- I awarded Hard XP for defeating each elemental prophet as well as sealing each elemental node
The Many Lives of Tim (Talus’ animated zombies):
 Tim 1.0 (a kenku in air temple) died to Bronzefume’s steam breath in Session 28
- Tim 2.0 (a water priest) died to Glyph of Warding explosion in Session 30.
- Tim 3.0 (an earth cultist) died to a pack of Eel Hounds outside the House of Reeds in Session 33.
- Tim 4.0 (Fengell) was polymorphed into an ooze by the Ghaundaur statue curse in the Fane of the Eye (Session 38). Became an ooze in the Fane. Ooze form “died” from Talus’ own Fireball attack at the Haayon fight (Session 41). Tim 4 finally died from the Clockwork Hound in the Yartar Cemetery fight in Session 42.
- Tim 5.0 (a dwarf priest from the shrine) died the very next encounter to a Cone of Cold from Obratu the Oni. He became a Timscile (Session 43).

“Princes of the Apocalypse” was a fun adventure that suited our dungeon-delving party nicely. It worked especially well as a natural transition from “Lost Mine of Phandelver.”
I was able to hook in some nice backstories and character driven quests and NPCs into the adventure, making sure every party member got at least a few areas or moments with the spotlight.
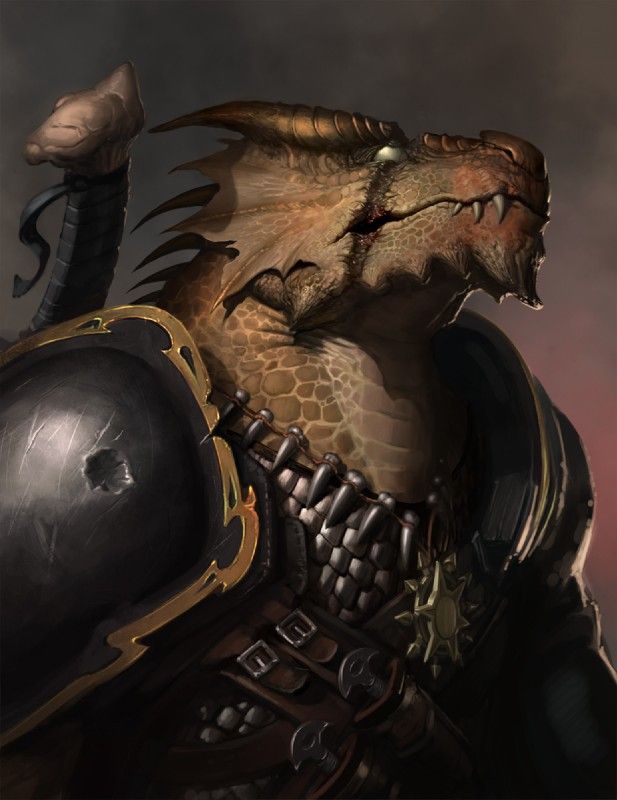
Kalinaar: Ex-member of Summit Hall, with a big reputation. Renwick the lich was interested in gaining his service.
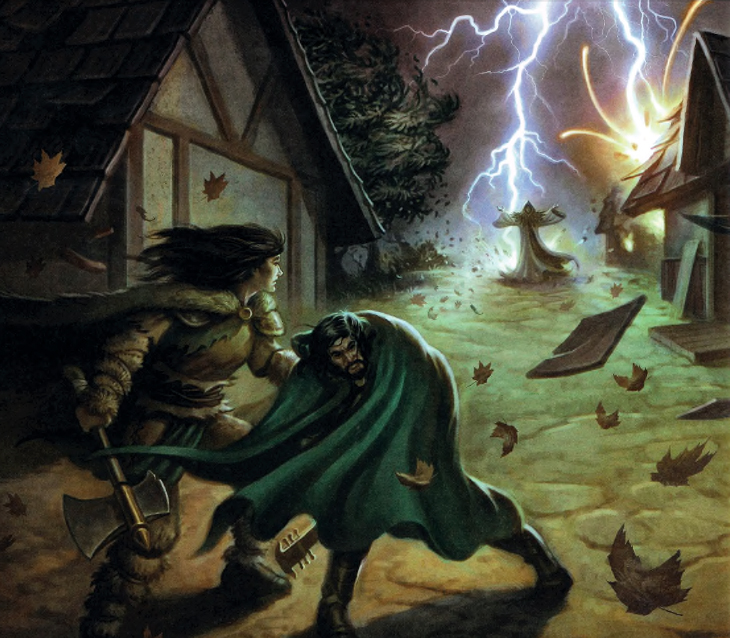
Talus: Red Wizards continued to hunt him. Invited to join the Harpers. Received visions of impending elemental apocalypse.
Miri: Replaced one of the delegation members with her noble mother from Waterdeep. Savra the Feathergale Knight was an old friend.
Kethra: Made her old mentor a fire cultist, and tied in her orphanage burning down into the fire cult.

The core of the published adventure is the interconnected mega-dungeon that was once called the Temple of Elemental Evil. While I loved the elemental themed cults and dungeons (particularly the water and fire node dungeons), I was less a fan of how the open design let the players travel freely between the cults and dungeons. It was very confusing for my players and hell on a DM trying to prep all those giant dungeons.
To make matters worse, each dungeon is built for a specific level of PCs, and should be tackled in a certain order. That makes no sense considering that the PCs are free to tackle them in any order.
I had to strongly encourage my players to take certain paths, and ended up locking the air temple so they wouldn’t end up wandering down there too early after only clearing one of the surface keeps.
As a result of this open design the PCs were almost always either over-leveled or under-leveled for each dungeon (though the latter never seemed to matter much – polymorph is a hell of a spell).
I did like that the campaign book included lots of ways for the cults to affect the Dessarin Valley through essentially bombing towns. It created a nice sense of urgency and heroism, instead of the cults simply waiting in their dungeons for the PCs to come kill them.
I loved the climax in the fire node with Imix and Vanifer, and I used the epilogue to resolve the Renwick and Summit Hall drama that my PCs had helped stir up.
We had a blast with “Princes of the Apocalypse.” I highly recommend it for any groups who love dungeon crawls, though be prepared to either run with its open design or toss up some artificial walls to keep your players on a set path.
Streamed, recorded and uploaded every week. Subscribe for our weekly adventures. Join us live on Fridays at 10pm Eastern/7pm Pacific!
